
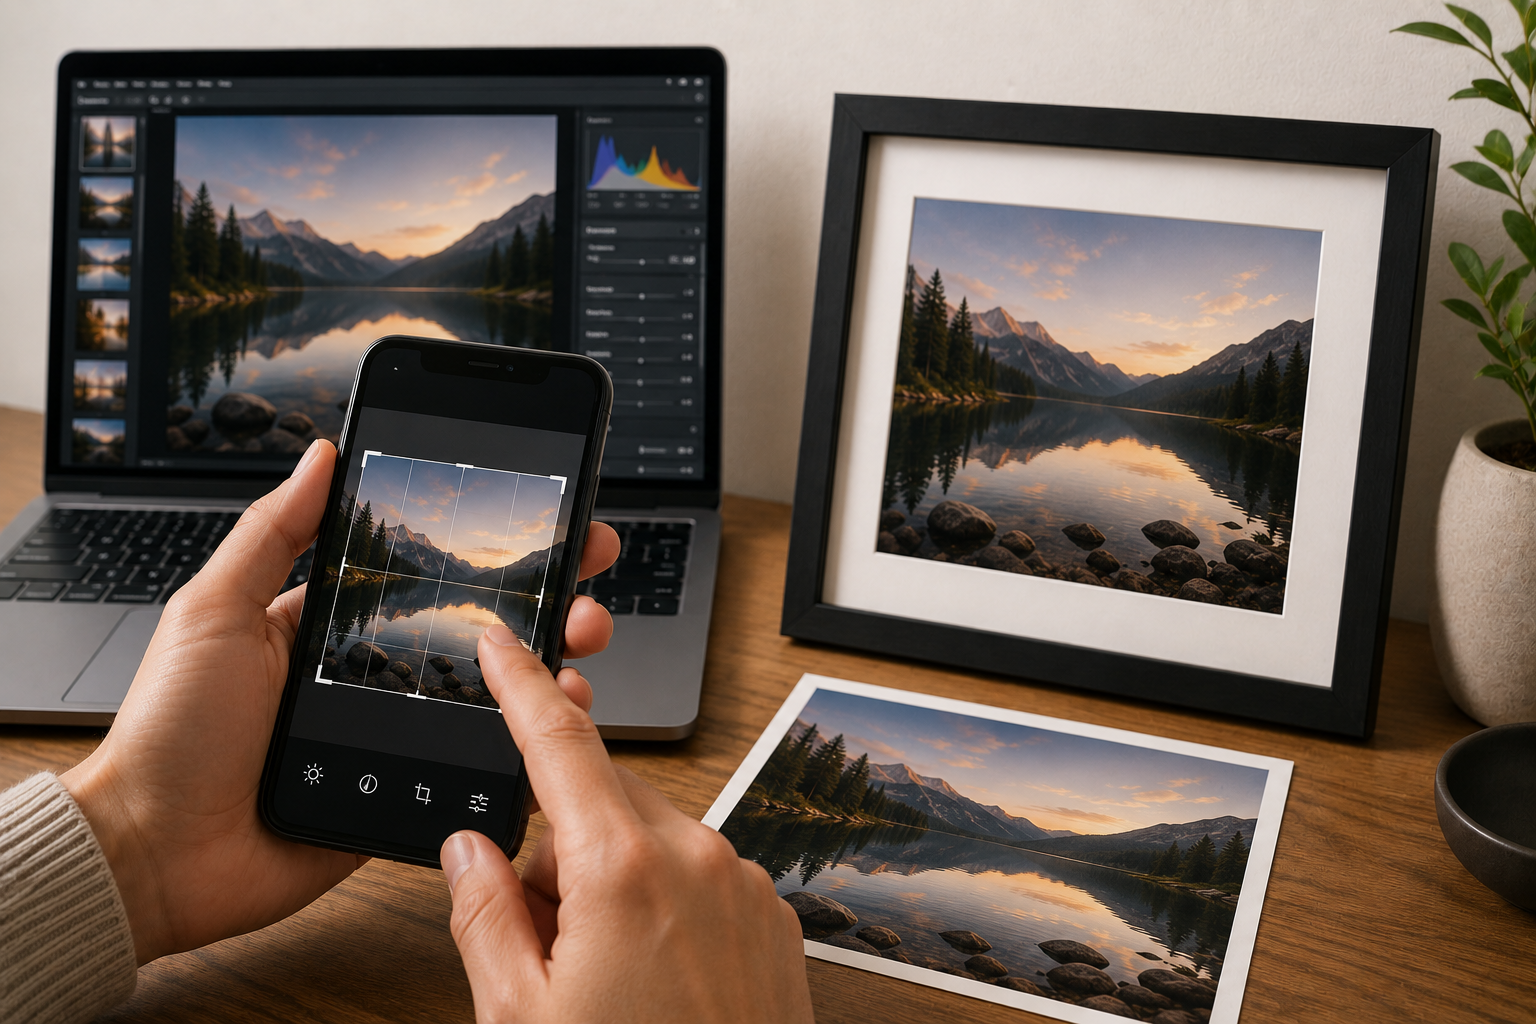
To prepare a phone photo for high-quality printing, shoot at your phone's full resolution without digital zoom, aim for at least 300 DPI at your chosen print size, avoid heavy cropping after the fact, skip over-editing filters, and check the image at 100% zoom for blur or noise before you upload it. A photo that looks sharp full-screen on your phone isn't automatically sharp enough for an 11x14 wall frame — the print size is what determines whether your photo will hold up.
Your phone camera is genuinely good — good enough that most people never think twice before turning a favorite photo into a framed print. Then it arrives, and the face that looked perfectly sharp on a 6-inch screen looks soft, slightly pixelated, or oddly cropped on an 8x10 wall frame. This isn't bad luck, and it's rarely the printer's fault. It's almost always something fixable in the photo itself, before it ever gets uploaded.
This guide walks through exactly how to prepare a phone photo so it holds up at print size — no photography degree required, just a few checks most people skip.
Why Phone Photos Don't Always Print the Way You Expect
A phone screen displays your photo at a small, fixed size, so almost any photo looks reasonably sharp on it — screens are forgiving. A printed photo, especially at 8x10 or larger, is a completely different test. Every pixel gets stretched across physical inches of paper or canvas, so any softness, noise, or low resolution that was invisible on-screen becomes obvious in print. Digital zoom is the most common culprit: it doesn't capture more detail, it just crops and enlarges what's already there, which is why a zoomed-in phone photo often looks noticeably worse once printed.
The Pre-Print Checklist
Run through this before uploading any phone photo for printing or framing:
☐ Photo was taken at full camera resolution, not a downloaded/compressed copy from social media
☐ No digital zoom was used when the photo was taken
☐ Image resolution matches or exceeds the recommended size for your chosen print (see chart below)
☐ Photo hasn't been heavily cropped after capture, which reduces effective resolution
☐ Lighting in the original photo is even, without harsh shadows or blown-out highlights
☐ Filters or heavy edits have been kept minimal, since some effects don't translate well to print
☐ You've viewed the photo at 100% zoom on a computer screen, not just your phone, to check for blur
Resolution Guide: What Size Can You Print?
Print quality comes down to DPI (dots per inch) — the higher the DPI at your chosen size, the sharper the print. 300 DPI is the standard for crisp, professional-quality prints. Here's roughly what resolution you need for common frame and canvas sizes:
|
Print Size |
Minimum Resolution (300 DPI) |
Good For |
|
4 x 6 in |
1200 x 1800 px |
Wallet frames, small desk frames |
|
5 x 7 in |
1500 x 2100 px |
Family photo frames, shelf display |
|
8 x 10 in |
2400 x 3000 px |
Wall frame, standard portraits |
|
11 x 14 in |
3300 x 4200 px |
Statement wall pieces, collage frames |
|
16 x 20 in |
4800 x 6000 px |
Large canvas wall art, gallery walls |
|
24 x 36 in |
7200 x 10800 px |
Oversized canvas photo prints |
To check your own photo's resolution on a phone: open the photo, look at its details or properties (on iPhone: Photos app > Info button; on Android: Gallery app > Details/More info). If the pixel dimensions listed are below the numbers in the chart for your target print size, either choose a smaller size or select a sharper source photo.
Cropping the Right Way
Most frame and canvas sizes don't match your phone's native photo shape exactly, so some cropping is usually necessary. The mistake to avoid is letting an automated tool crop it for you at the last second — instead, crop deliberately beforehand so the composition still works. Keep faces and key subjects away from the very edge of the frame, since a small margin is often trimmed during mounting. If you're framing for a collage frame or gallery wall layout with several photos, crop each one to a consistent aspect ratio so the finished wall looks intentional rather than mismatched.
Editing Photos Before Printing: What Helps and What Hurts
What Helps
• Light brightness and contrast correction if the original photo is slightly dark or flat
• Straightening a tilted horizon or crooked composition
• Mild sharpening, applied carefully, if the photo looks slightly soft
What Hurts
• Heavy filters that shift color balance dramatically — these can look very different once printed on canvas vs paper
• Aggressive cropping into a small portion of the original photo, which lowers effective resolution
• Over-sharpening, which can introduce visible noise or a harsh, unnatural look in print
• Heavy beautification filters, which sometimes create odd artifacts around edges when enlarged
Choosing the Right Format: Print, Canvas, or Both
Not every photo suits every format. A crisp, well-lit photo with fine detail — a portrait, a landscape with texture — tends to shine as a traditional photo print behind glass. A photo with strong colors, a simple composition, or a slightly softer focus often works beautifully as a canvas photo print, since canvas texture naturally forgives minor softness in a way glossy paper doesn't. If you're unsure, it's worth ordering a smaller test print before committing to a large canvas printing order, especially for a once-in-a-lifetime shot like a wedding photo.
Troubleshooting Common Print Quality Issues
If a print has already come out looking off, here's what usually went wrong and how to fix it next time:
|
Problem |
Likely Cause |
Fix Before Ordering |
|
Photo looks blurry when enlarged |
Resolution too low for chosen print size |
Print smaller, or retake photo closer without digital zoom |
|
Faces or subjects get cropped oddly |
Aspect ratio mismatch with frame size |
Crop deliberately before uploading, don't let the printer auto-crop |
|
Colors look different in print vs screen |
Phone screen brightness/contrast skewing perception |
Preview on a second device; avoid heavy filters before printing |
|
Photo looks grainy or noisy |
Taken in low light with digital zoom or high ISO |
Choose a well-lit alternate photo where possible |
|
Print looks washed out |
Over-brightened or over-edited before upload |
Reduce brightness/exposure edits closer to the original capture |
A Quick Note on Social Media Photos
One of the most common mistakes is downloading a photo from Instagram, WhatsApp, or Facebook to print it. These platforms compress images significantly to save data, which reduces resolution and can introduce visible artifacts once printed at a larger size. Whenever possible, use the original photo straight from your phone's camera roll rather than a version that's been shared, downloaded, or screenshotted from social media.
Frequently Asked Questions
What resolution do I need to print a phone photo?
As a general rule, aim for 300 DPI at your chosen print size — for example, an 8x10 print needs roughly 2400 x 3000 pixels. Most modern phone cameras can hit this easily as long as digital zoom and heavy cropping are avoided.
Why does my phone photo look blurry when printed but sharp on screen?
Screens display photos at a small, forgiving size, while printing stretches every pixel across physical inches. Low resolution, digital zoom, or heavy cropping that's invisible on-screen often becomes obvious once printed larger.
Can I print a photo downloaded from Instagram or WhatsApp?
It's best to avoid this when possible. Social media platforms compress photos to reduce file size, which lowers resolution and can cause visible quality loss in a printed or framed version — use the original camera roll photo instead.
Should I edit my photo before printing it?
Light adjustments like brightness, contrast, and straightening usually help. Heavy filters, aggressive cropping, and over-sharpening can hurt print quality, since they either reduce resolution or introduce artifacts that become more visible at larger sizes.
Is canvas printing more forgiving than paper prints for phone photos?
Yes, to some degree. Canvas texture can soften the appearance of minor resolution issues compared to glossy photo paper, making canvas photo prints a reasonable choice for photos that are good but not perfectly sharp.
A great phone photo and a great framed print aren't automatically the same thing — but getting from one to the other just takes a few checks: shoot without digital zoom, match your resolution to your print size, crop with intention, and keep edits light. Do that, and there's no reason a phone photo can't hold up beautifully on your wall.
Once your photo is ready, you can print and frame photos online in the format that suits it best — a classic framed print, a textured canvas photo print, or a full gallery wall of favorites.
Ready to Turn Your Photos Into Something Beautiful?
Visit Pickframes.com — Your Photos. Your Memories. Beautifully Framed.
Bring your favorite moments to life and give them a place worth remembering.