
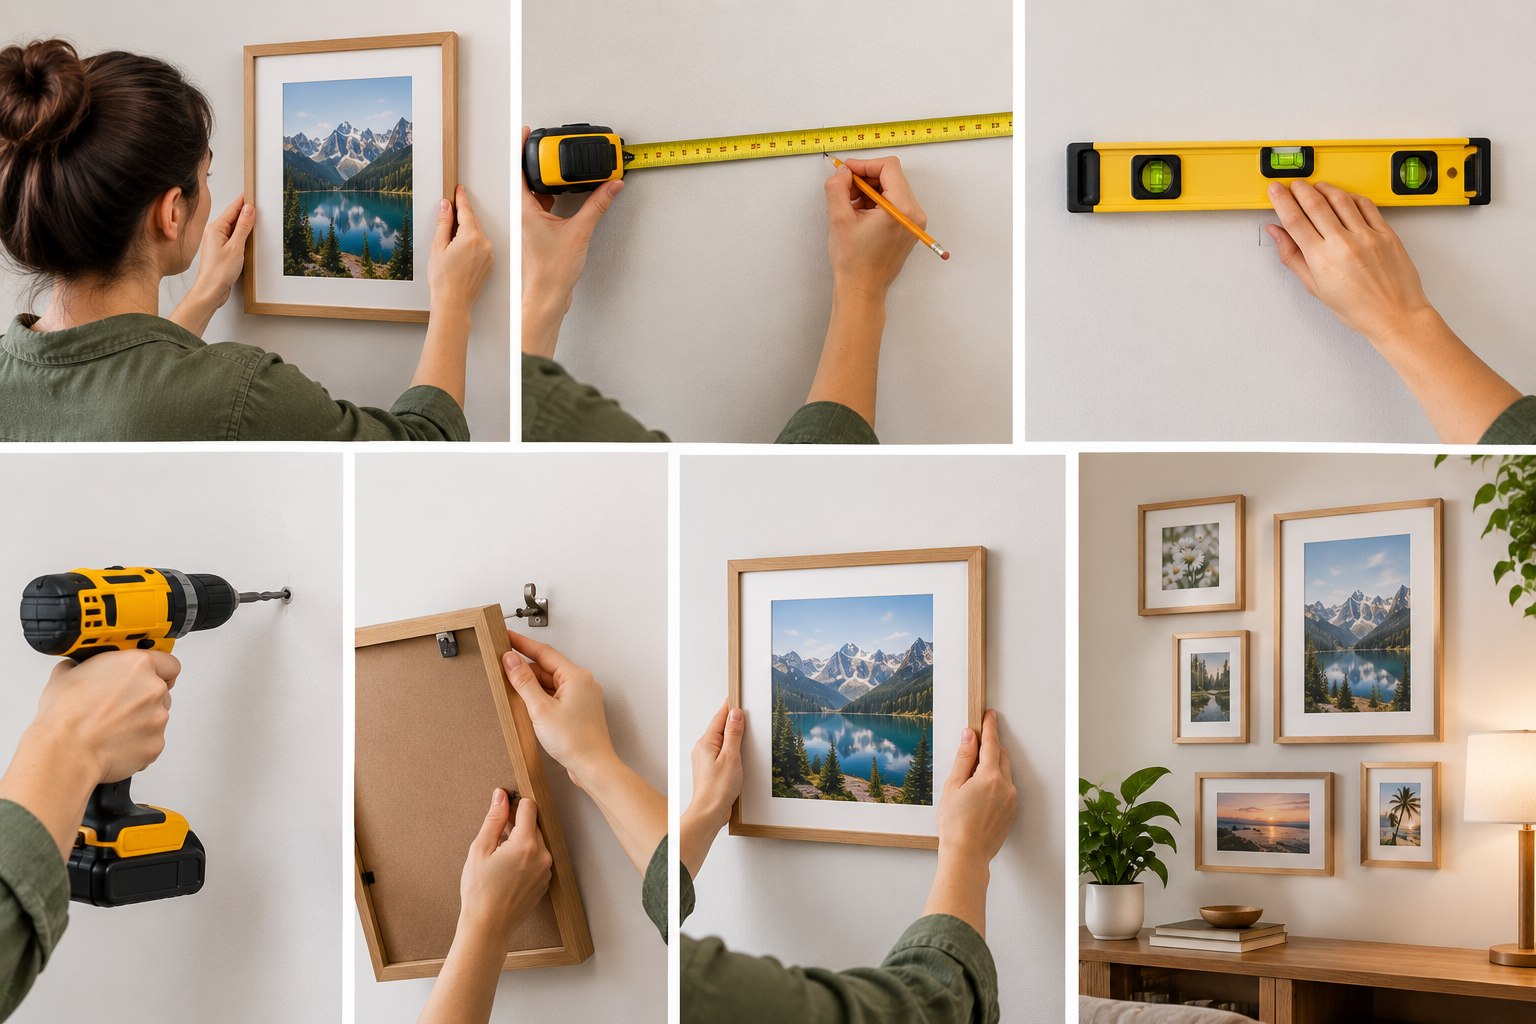
To hang a picture frame yourself: find your wall type, mark the hanging point at roughly 145–150 cm from the floor to the frame's centre (standard eye level), use the correct hardware for that wall (picture hooks for drywall studs, wall plugs for concrete/masonry), level the frame before committing to a nail, and double-check spacing before hanging a second or third piece nearby. This applies whether you're hanging basic photo frames or a full gallery wall of custom picture frames.
Why This Trips People Up More Than It Should
Most hanging mistakes aren't about strength or tools — they're about sequence. People often hang the frame first and figure out the spacing afterward, or drill straight into concrete with a nail meant for drywall. Getting the order right removes almost all of the guesswork.
|
What You'll Need ☐ A spirit level (or a level app on your phone) ☐ A measuring tape ☐ A pencil for marking the wall ☐ Picture hooks or wall plugs, matched to your wall type ☐ A hammer or drill, depending on hardware ☐ Painter's tape (optional, for test-positioning frames before committing) |
Step-by-Step: Hanging a Single Picture Frame
Step 1: Identify Your Wall Type
Tap the wall. A hollow sound usually means drywall or plasterboard — use a picture hook or a hollow-wall anchor. A solid, dull sound means concrete, block, or masonry (common in many Dubai apartments) — you'll need a drill with a masonry bit and a wall plug rather than just a nail.
Step 2: Decide on Height Before Anything Else
The standard rule for photo framing at eye level is to centre the frame around 145–150 cm from the floor. For a piece hanging above furniture — a sofa or console table — aim for roughly 15–20 cm above the furniture's top edge instead of a fixed height.
Step 3: Mark, Don't Guess
Hold the frame in place (or use painter's tape to outline its edges on the wall) and mark exactly where the hanging point on the back of the frame will land. Measure from the top of the frame to the hook or wire to get this precise, rather than eyeballing it once it's already hanging.
Step 4: Fit the Right Hardware
Drywall: use a picture hook rated for your frame's weight, or a hollow-wall anchor for anything heavier than a basic photo frame. Concrete or masonry: drill a pilot hole, insert a wall plug, then drive the screw or hook into the plug — never straight into bare concrete.
Step 5: Hang, Then Level — In That Order
Hang the frame on the hardware first, then check it with a spirit level. Adjust the wire or hanging point rather than physically pushing the frame corner, which throws it crooked again the moment it settles.
Hanging a Gallery Wall Without It Looking Chaotic
A single frame is straightforward. A cluster of framed wall art is where most people start improvising — and where a little planning pays off.
• Lay the frames out on the floor first in your intended arrangement before any nail goes into the wall
• Trace each frame's outline onto craft paper, tape the outlines to the wall, and mark hanging points through the paper — this avoids test holes in the wrong spot
• Keep consistent spacing (5–8 cm) between frames for a cohesive look, rather than eyeballing gaps piece by piece
• Anchor the layout around one larger central piece, then build outward with smaller photo frames
• Step back and view the layout from across the room before committing to the final piece — proportions read differently up close
Common Hanging Mistakes (and the Easy Fix)
|
Common Mistake |
The Fix |
|
Hanging too high, out of natural eye line |
Centre the frame around 145–150 cm from the floor |
|
Using a nail on a concrete wall |
Drill a pilot hole and use a proper wall plug |
|
Pushing a crooked frame straight by hand |
Adjust the wire or hook, not the frame corner |
|
No spacing plan for multiple frames |
Lay out frames on the floor or use paper templates first |
|
Ignoring frame weight when picking hardware |
Match hook or anchor rating to the frame's actual weight |
Renting? Tenancy-Friendly Hanging Options
A lot of Dubai households are renting rather than owning, which changes the calculation slightly — landlords and tenancy contracts don't always love drilled holes in a fresh coat of paint. A few options that avoid permanent wall damage while still holding photo frames securely:
• Adhesive strips rated for the frame's specific weight — check the rated kilograms, not just the packaging size
• Command-style hooks, which remove cleanly and work well for lightweight photo frames and picture frames
• A single small nail hole (rather than a full anchor) for lightweight frames, which is easy to patch and repaint before moving out
• Leaning larger framed pieces or oversized canvas prints on a floating shelf or console table instead of mounting them directly
For anything beyond a lightweight frame, adhesive-only solutions start to feel risky — a heavier custom photo frame is generally worth the one small hole, patched later, rather than the frame coming loose and cracking the glazing.
When It's Worth Getting Help Instead
DIY hanging covers the vast majority of photo frames and picture framing around a home. The exceptions are genuinely oversized or heavy pieces — large canvas prints, mirror-framed pieces, or multi-kilogram framed art — where a stud finder and reinforced anchoring (or a second pair of hands) becomes worth the extra step. For anything in that category, it's worth checking the frame's weight rating before you commit to a single hanging point.
Frequently Asked Questions
What is the correct height to hang a picture frame?
As a general rule, centre the frame around 145–150 cm from the floor, which matches average eye level. Frames hung above furniture should sit roughly 15–20 cm above the furniture's top edge instead.
Can I hang a picture frame on a concrete wall without drilling?
It's not recommended for anything beyond a very light frame. Concrete and masonry walls need a drilled pilot hole and a wall plug for secure, long-term hanging — adhesive hooks alone often aren't reliable for photo framing.
How do I keep multiple picture frames evenly spaced on a gallery wall?
Lay the frames out on the floor first, or trace their outlines onto paper and tape the templates to the wall before hanging. Aim for consistent 5–8 cm gaps between frames rather than spacing them by eye once they're up.
Do I need special tools to hang a heavy framed canvas print?
Heavier pieces benefit from a stud finder and a properly rated wall anchor rather than a basic picture hook. If a piece feels unusually heavy for its size, it's worth checking the recommended hanging hardware before mounting it.
Is it better to order photo frames pre-fitted with hanging hardware?
Yes, when possible. Ordering photo framing or picture framing with the hanging hardware already fitted (as with most online custom framing services) saves a step and ensures the hardware is rated correctly for that specific frame's weight.